
Render Arena by KIRI Engine
Render Arena is built to simplify the process of creating animated 3D scenes in Blender. It gives you a fast way to set up camera moves, lighting, backgrounds, and object animations without needing to build everything from scratch. While the Quick Setup tools help you get started in a few clicks, the Full Control menus let you fine-tune every aspect of the scene. The goal is to make animation and presentation easier—whether you're just starting out or need a faster workflow.

Download Render Arena Addon:


Please note: We are making these Blender addons available to you completely for free.:) If you like what we are doing, the best way to support us is to download KIRI Engine app on your phone and consider becoming a KIRI Engine Pro user

Render Arena is a comprehensive animation creation system. In a few clicks the addon allows even a total 3D beginner to set up a background scene, multiple camera animations, lights, object animations and compositing effects - with full control over each aspect for fine tuning the final look.
Import Note:
There are two versions of the addon. A free 'lite' tier and a 'Pro' tier. The pro version is free for KIRI pro users, or it can be purchased independently. Some features mentioned in this documentation are available in the Pro version only.
1. Installation
Important note:
The add-on was made for Blender 4.4 and above – the add-on will NOT work with previous versions of Blender.

To install the addon make sure you have downloaded the .ZIP file (render_arena_by_kiri_engine_'version number') .ZIP to your computer.
Drag and drop the .ZIP from a file browser into Blender's 3D viewport.
A confirmation window will appear. Hit okay and the addon will be installed

2. Quick Set Up

The addon interface is split into two main sections which we can switch between from the top of the addon.
From the Quick Set Up menu we can quickly create a full animation system using the Add Render Arena button.
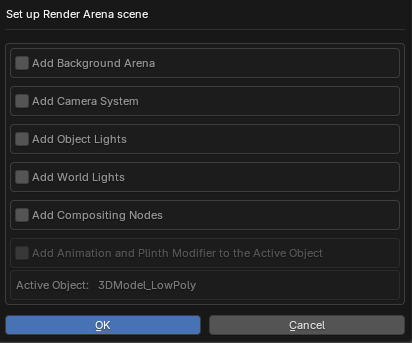
After pressing the button, a dialogue will appear asking which features you would like to set up
Important note:
If the Active Object already has the 'Render_Arena_Main_Object_GN' modifier – this option will be greyed out. Adding other features – like backgrounds or lights – will reset those features.
After pressing the button, a dialogue will appear asking which features you would like to set up:
If you select Create Camera Sequence or Add World Lights, further pop-up option for these features will appear after pressing OK.
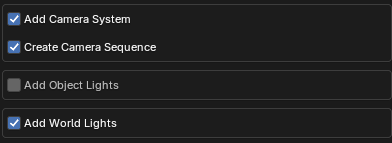
After pressing OK, all selected assets will be added to the scene. These can then be controlled individually from the Full Control menu
From the Quick Set Up menu, you can also access resources such as written or video documentation, our addon market page or the KIRI Engine home page using their corresponding buttons.
We will now look at each of the features found on the Full Control menu
3. Object / Plinth Menu
At the top of the menu under Tools we have two buttons - Place On Floor and Clean Small Islands. These can be useful cleanup operations when working with 3D scans.
Place On Floor will find the lowest central point on the mesh and set this as the mesh origin, then moving the mesh bottom to the world's central point.
Clean Small Islands will delete all small islands (based on the number of vertices within an island) leaving only the largest island. Useful for cleaning up 'floater' artifacts.
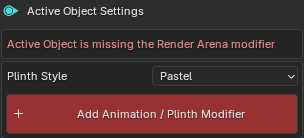
If you didn't yet give your Active Object the 'Render_Arena_Main_Object' modifier a warning will appear – Active Object is missing the Render Arena modifier.
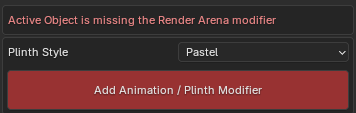
You can choose a Plinth Style and hit Add Animation / Plinth Modifier the Active Object will be given the modifier. The menu will now show extra settings.
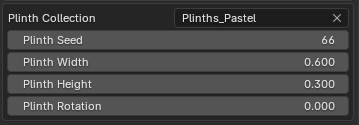
Enable Plinth will turn on/off the object plinth.
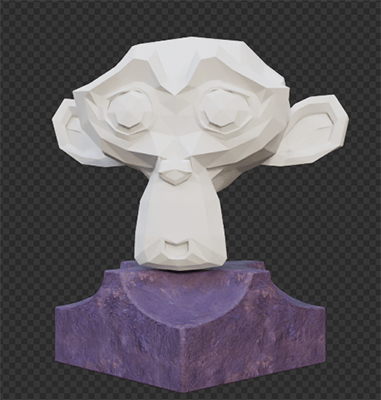
If enabled, you can select the plinth source collection, adjust the plinth seed, height, width and rotation with their corresponding values below.
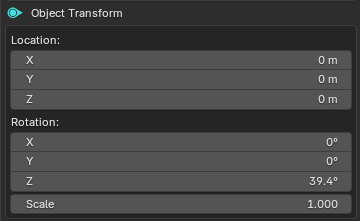
If you want the adjust the object size, scale or rotation independently of the plinth, you can do this with the Object Transform values
The Remove Modifier button will remove the modifier from the Active Object

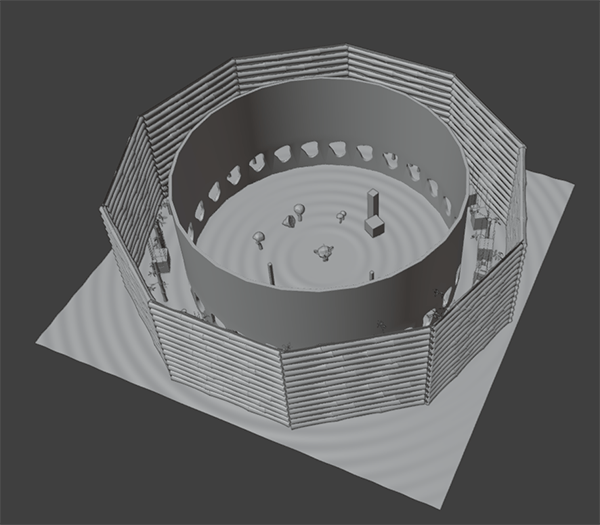
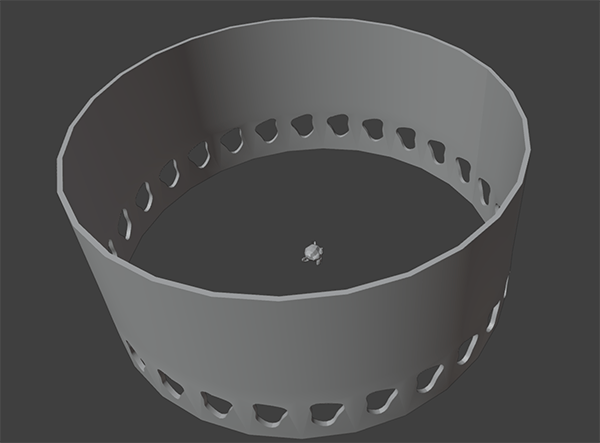
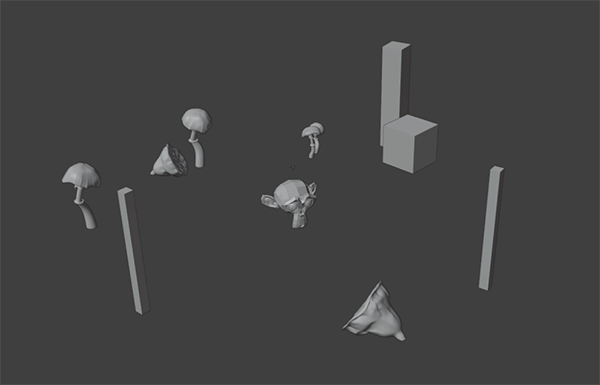
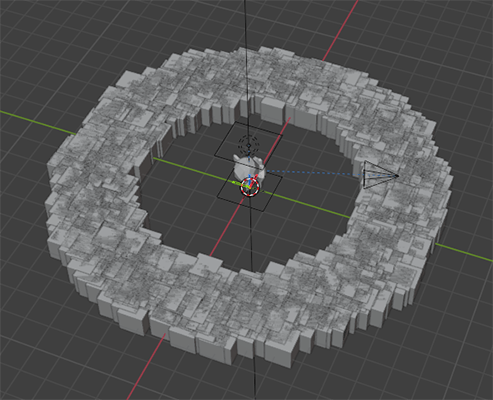
4. Arena Menu
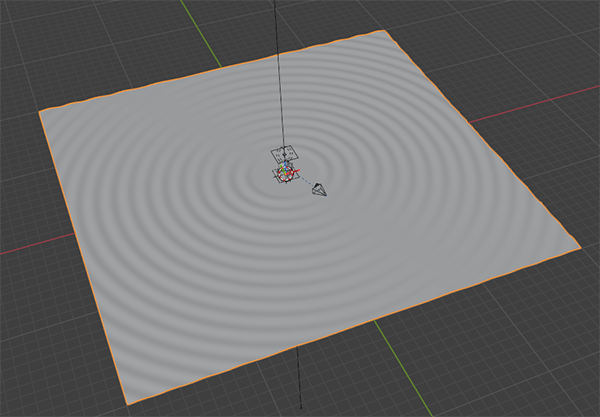
The Arena is a dynamic background object, named for its circular layered structure.
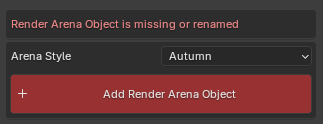
If the Render Arena Object is not found in the scene or has been renamed you will be shown options to pick a style and add the object with Append Render Arena Object.
Once added you will be shown controls for the Arena Scale and a list of layers that can be turned on/off within the Arena
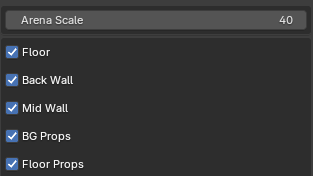
Enabling a layer will reveal full controls for that layer. Many of the layers share settings and setting titles. To make this documentation lighter, settings will be explained sequentially from top to bottom (Floor layer to Floor Props layer). If a setting has already been explained for a layer, it will not be fully explained in later layers.
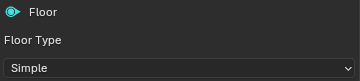
Arena Floor
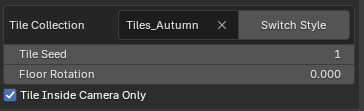
Setting the Floor Type – to either simple, displaced or tiled – will change which options are shown
If Tiled is selected you will be shown options to specify the tile source collection, the tile seed, the rotation of tiles and the option to create tiles only within the active cameras bounds.
Pressing Switch Style will let you select one of the addon presets to replace the current style. You can also specify your own collection.
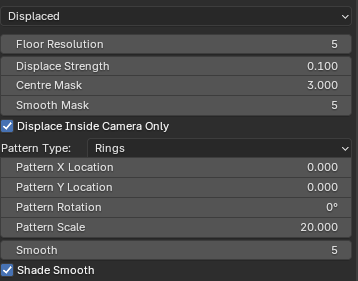
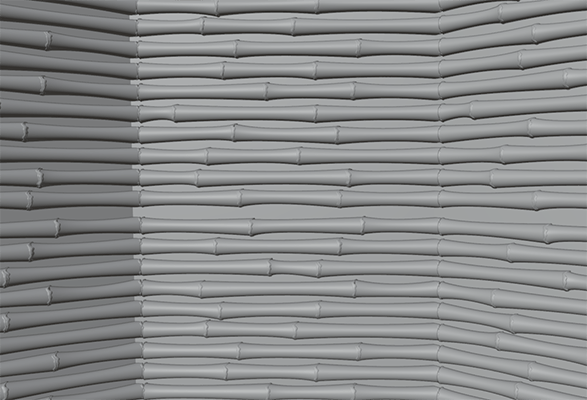
If Displaced is selected, you can set the Floor Resolution – this will determine the overall smoothness and effect of the displacement – but higher resolutions can be performance intensive.
The Centre Mask and Smooth Mask will prevent displacement in the centre of the world so that the floor does not clip your main object.
The pattern controls let you select the displacement pattern source, location, rotation and scale.
Smooth will apply post displacement smoothing to the geometry – useful when working with lower floor resolutions.
Shade Smooth will affect the floor shading.
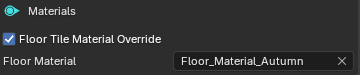
The Floor Material or Floor Tile Material can be controlled from the bottom Materials section.

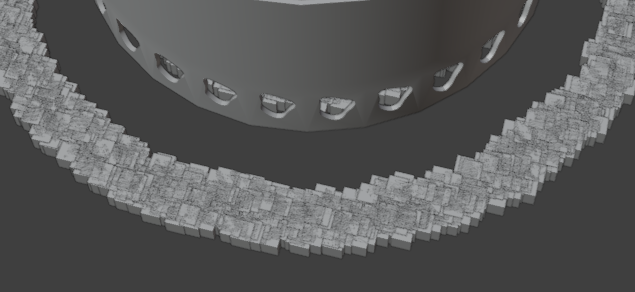
Arena Back Wall

The back wall is the perimeter around the whole arena object.
Like the floor settings, we can choose from simple, tiled or displaced styles – but we also have another style: Extrude. This style is similar to the displaced style and shares the same settings – except each face is extruded using the source pattern, rather than displaced.
If Tiled is selected – the number of tiles created is relative to the backwall resolution. The tile scale can be changed to fit the current resolution.
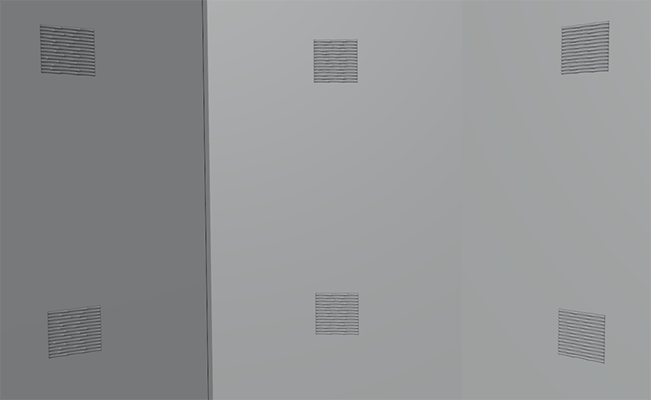
To maintain square topology for the back wall (useful for displacing and extruding) the Back Wall Height values will snap the wall to a specific height rather than behaving like a regular smooth 'scale' control.
The Back Wall Materials can be found in the Materials section at the bottom of the menu.
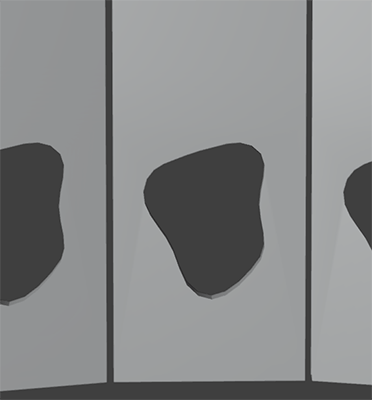
Arena Mid Wall
The Mid Walls form a layer of walls or windows between the main object and the backwall.
You can specify the source collection, the source seed, overall scale, Z scale depth, smooth shading and rotation of the walls.
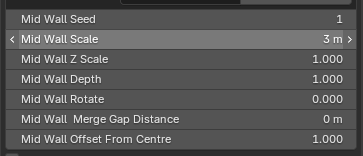
Some walls feature open edges which can be 'merged' together. For these types of walls it is best to play with the Mid Wall Scale and Mid Wall Merge Gap Distance to try and fuse the gaps, producing a single continuous wall.

The Mid Wall Materials can be found in the Materials section at the bottom of the menu.
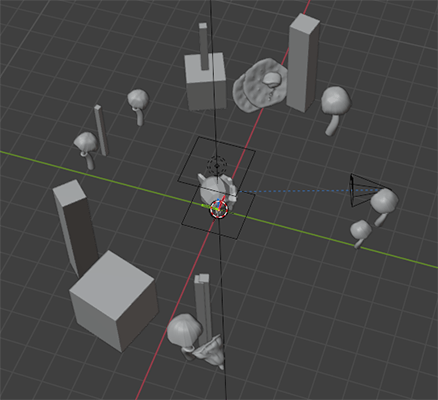
Arena BG Props
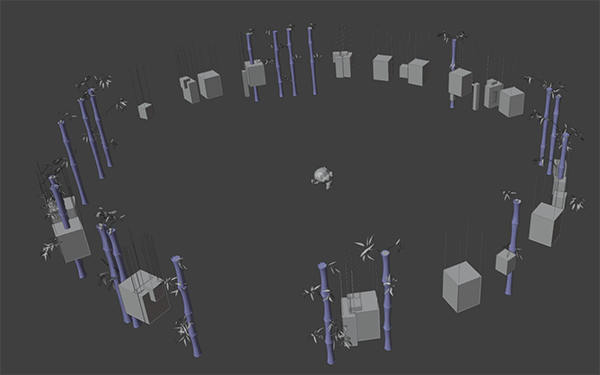
The BG Props are background items, usually placed between the mid wall and backwall.
Similar to other layers you can control the source collection, source seed, scale and offset from the centre.
You can choose whether to include all the items in the source collection, or a single item from the source collection with the source type set to Single or Multiple.
You can also control the number of items spawned with BG Props Count
The BG Props Materials can be found in the Materials section at the bottom of the menu.
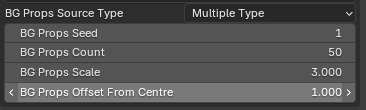
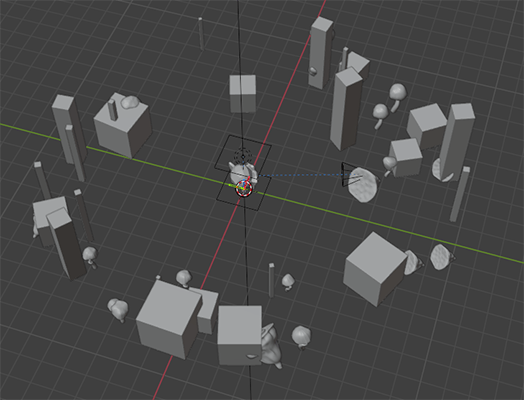
Arena Floor Props
The Floor Props are items usually placed on the floor between the mid wall and backwall.
Toggling Preview Distribution Zone and the Min and Max distance from centre values will let you quickly visualize where props will or won't be placed.
Avoid Walls will let you specify an Avoid Distance from the Back Wall and Mid Walls so there are no intersections.

You can then set the prop source collection, the min and max scale, the scale seed prop count and position and object selection seeds.
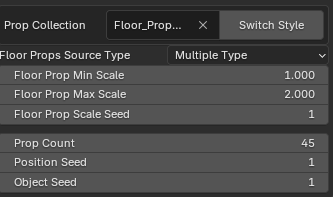
The Floor Prop Materials can be found in the Materials section at the bottom of the menu.
5. Lights Menu
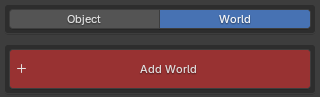
On the Lights menu we have two sub menus – Object and World.

Lights - Object
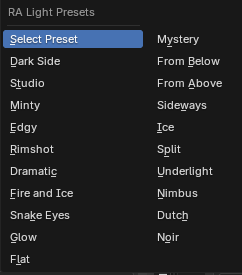
At the top of the Lights – Object menu you can add a Render Arena light preset by pressing the left/right or Random Lights buttons.
If you are aware of which preset you want to add, you can select it from the drop-down menu
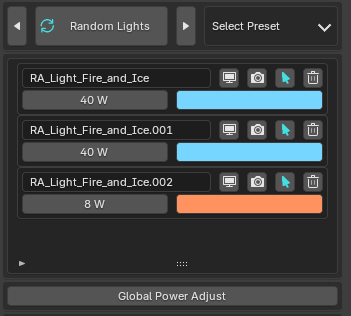
Below this, all lights in the scene are listed, whether added by the addon or not.
From here you can control each light's visibility, colour, strength and select or remove them quickly
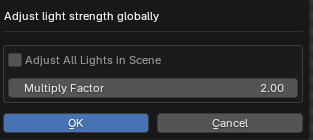
The Global Power Adjust will let you multiply the strength of all lights.
All Render Arena lights will be adjusted – or if you are aware of which preset you want to add, you can select it from the drop-down menu is toggled, all lights will be adjusted. Their strength will be multiplied by the Multiply Factor. Use decimals to divide: 0.5 to half the strength.
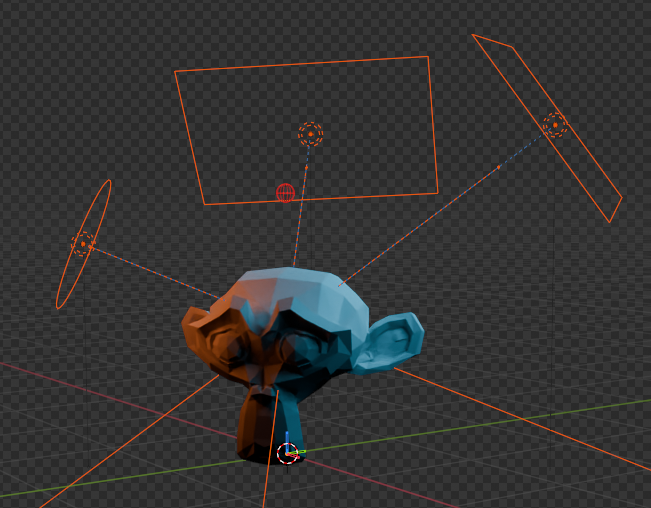
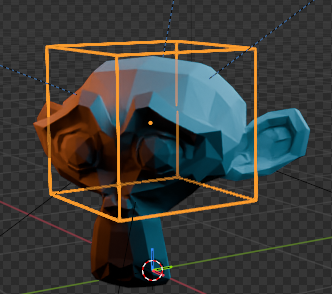
All lights in a light preset are parented to the Light Parent object. Moving this object will move the lights together. This is useful if your object is large or irregularly shaped.
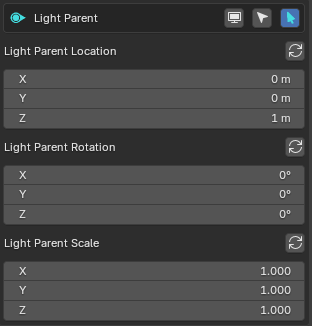
The visibility and selectability of the light parent can be toggled, and the object can be quickly selected by these buttons.

The light parent's location, rotation and scale can also be controlled directly from the addon.
All lights in a light preset point towards a Light Target object. Moving this object will move the direction that the lights point.

The Light Target settings are identical to the Light Parent settings. Except that is does not have rotation or scale values.
Lights - World
If you have not yet added a World using the addon you will see at the top of the Lights-World menu, a button: Add World.
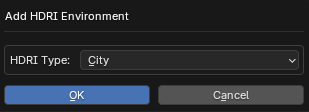
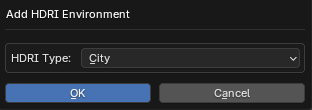
Pressing this will bring up a dialogue to choose which HDRI you would like to use. These HDRI's are the same HDRI image found in the Blender Material Preview.
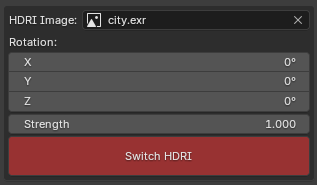
Once added, you can adjust the world rotation and strength. If you want to switch to a different HDRI, you can do that with Switch HDRI
6. Camera Menu
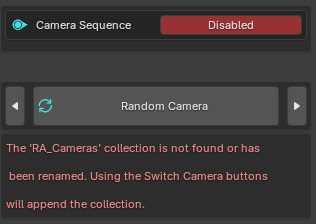
If there is no Active Camera in the scene, and the RA_Cameras collection has not yet been imported – this menu will be very limited and show a warning. We will talk about adding the collection later.
If you have an active camera – from the addon or manually added you will be given access to the Active Camera menu and Camera Sequence system.
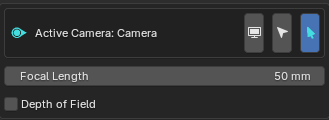
From the Active Camera menu you can adjust the Focal Length, depth of field and quickly select the Active Camera.
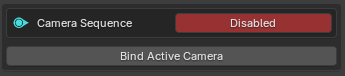
From the Camera Sequence Menu you will see an option to Enable/Disable the sequence (more on this later) and a button Bind Active Camera.
Pressing this will create a Marker on the timeline at the current frame, and the Active Camera will be bound to this marker.
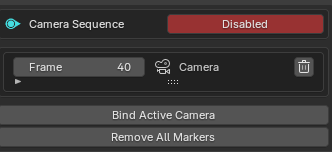

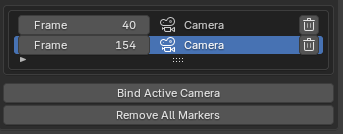
With at least one camera 'bound' to a marker, you will see all bound camera Markers listed below. From here you can quickly adjust their frame or remove a marker.
All markers can be removed with Remove All Markers.
If the Camera Sequence is Enabled, and several markers on the timeline. Scrubbing the timeline or playing the animation will jump to each camera at it's respective frame.
If Camera Sequence is disabled, the cameras will not automatically switch.
Pressing the left/right or Random Camera buttons will import the RA Cameras collection and set a Render Arena camera as the Active Camera.

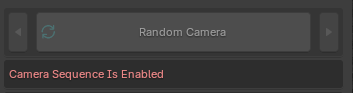
This option will only be available if Camera Sequence is Disabled. You can re-enable it after adding or switching camera presets.
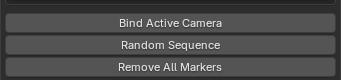
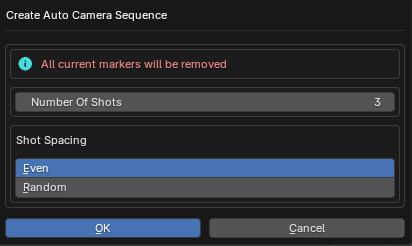
Once the Render Arena collection is added a new button will appear in the Camera Sequence section: Random Sequence
Pressing this will bring up a pop up allowing you to specify how many shots (how many markers) you want added, and whether you want their spacing to be even or random.

If the RA Cameras Collection is added and the Active Camera is a Render Arena camera, you will be shown controls for that particular camera move.
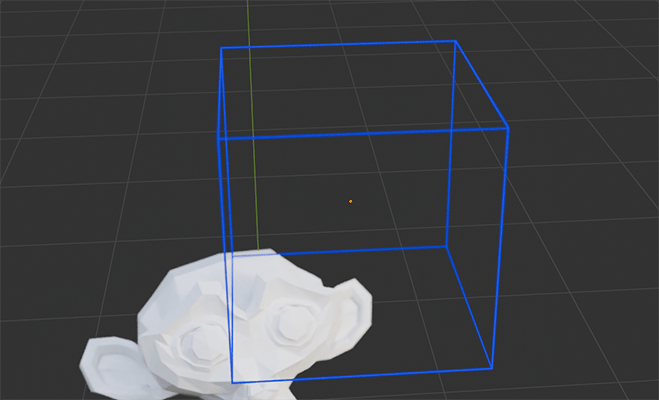
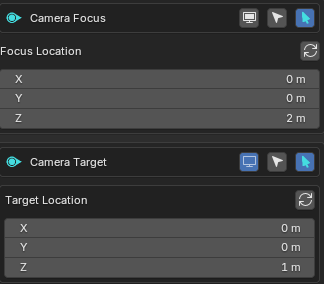
Camera Focus and Camera Target act like the Light presets Parent and Target system.
The Camera Focus object is shared by all Render Arena cameras. Its location will determine the focus point if Depth of Field is enabled for a camera.
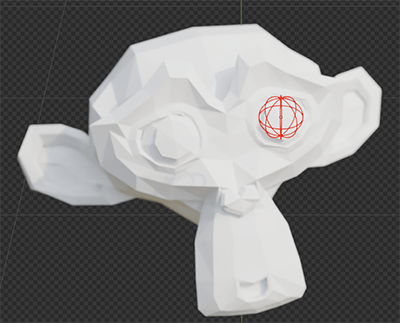

The Render Arena cameras each have their own Camera Target and point towards it. Changing its location will change the direction of the camera.
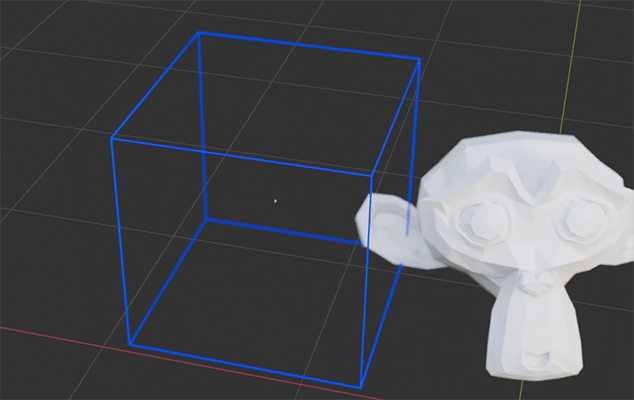
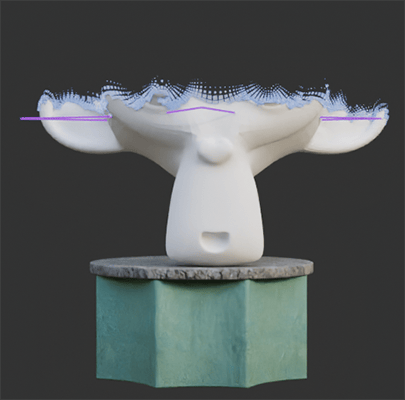
The movement of each Render Arena camera is controlled by its parent Camera Path.
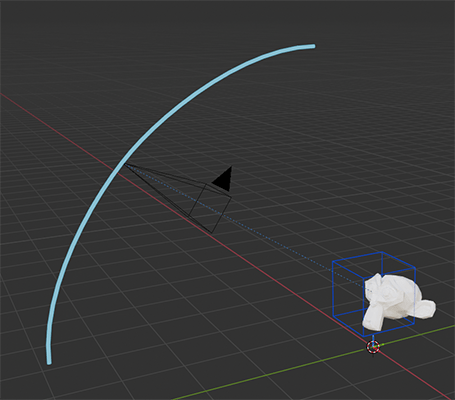
With Auto Animate enabled, the camera will automatically move along the path as the timeline plays.

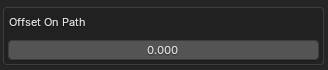
If Auto Animate is flipped to Manual Animate, the cameras offset along the path can be set or key framed using Offset On Path.

The direction that the camera travels along the path can switched with Switch Direction.

The path visibility and selectability can be set similar to the focus and target buttons

The path location, rotation and scale can be set from the addon. The path scale essentially acts as a Camera Zoom.
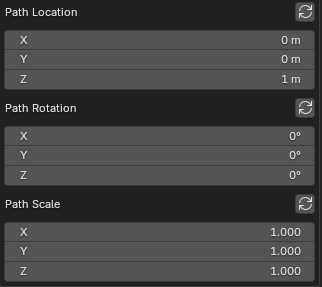
If you want to reset the transformations to the addon defaults, you can use the refresh buttons

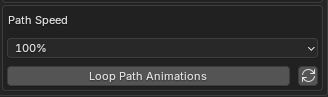
The speed at which the camera travels along the path is set with the Path Speed.
If you want a camera animation to loop at a specific speed – pressing Loop Path Animations will bring up a pop up.
From here you can specify the desired Path Speed. All paths will be given the same speed, and the timeline length will be adjusted to make the camera move loop seamlessly.
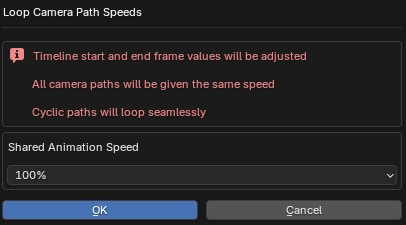
To reset all path speeds, the reset button will return all speed to 100% and set the timeline to Blender's default 250 frames.

7. Animation Menu
The Animation menu allows for the creation of transition animations on the Active Object
If the Render_Arena_Main_Object modifier hasn't been added to the Active Object yet, a warning will show, and the button Add Animation / Plinth Modifier as well as a Plinth preset style will be shown.
After adding the modifier and enabling animation you will be able to choose the Animation Style.
The progress of each affect is controlled by the Animation Controller's Z location.
This can be controlled from the addon or by selecting the controller object.
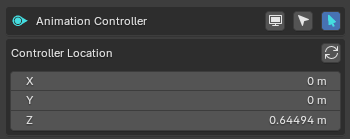
The location of the controller can be keyframed by hovering your cursor over the location values and hitting 'I' to control the animation for playback and renders.
Some settings are shared throughout most Animation Styles.
Some settings are shared by many of the animation styles – those settings will be explained here. Style-specific settings will not be covered here as they are best visualized through experimenting with values, rather than with written language.
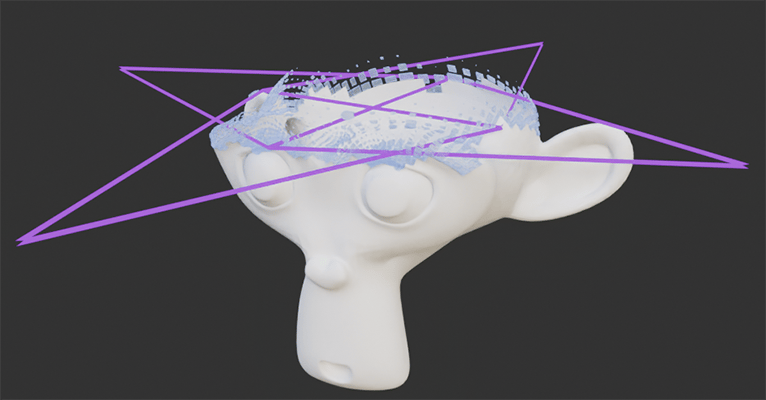
Flip direction will change the starting point of the animation.
Boundary Shift, Boundary Noise and Boundary Noise Scale will change the dividing line between animated/unanimated areas.
Several Animation Styles give the option for joining the animated result with the original mesh or retaining only the animated results. This can be set with Join With Base

The Materials for each Animation Style (if available) are listed at the bottom of the Animation Settings.

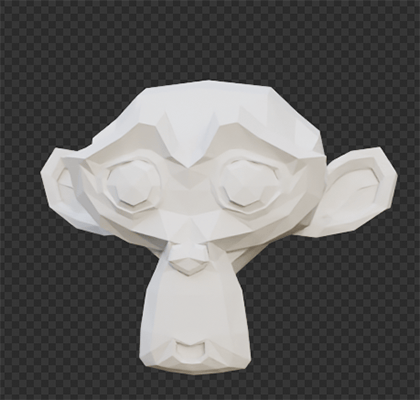
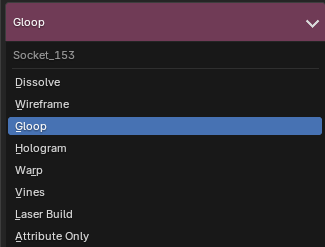
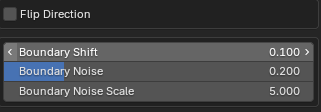
Here are some previews of the available styles:
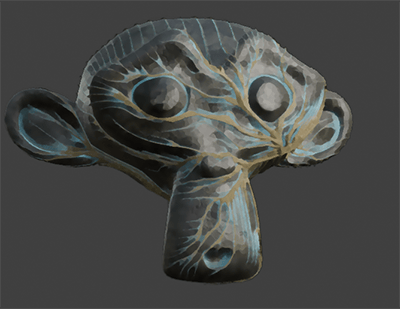
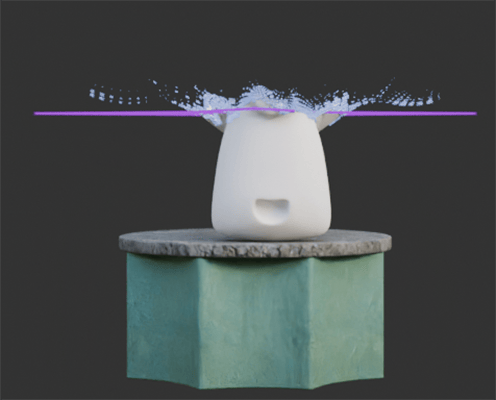
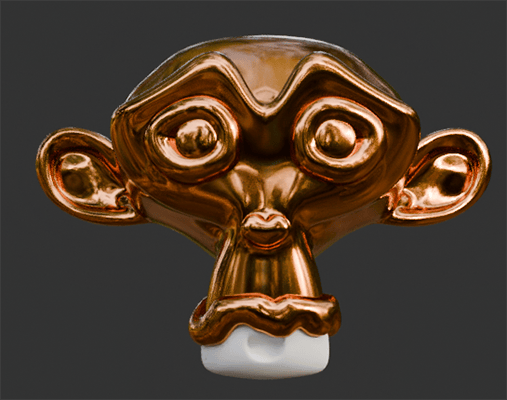
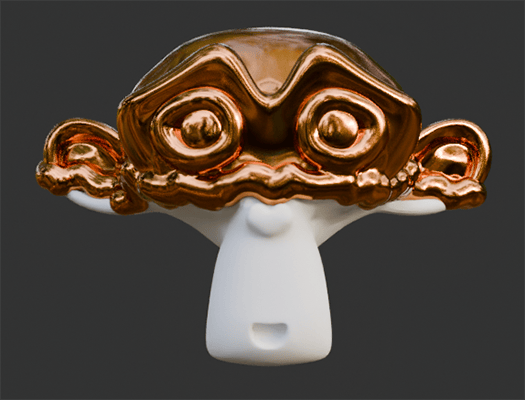
Dissolve
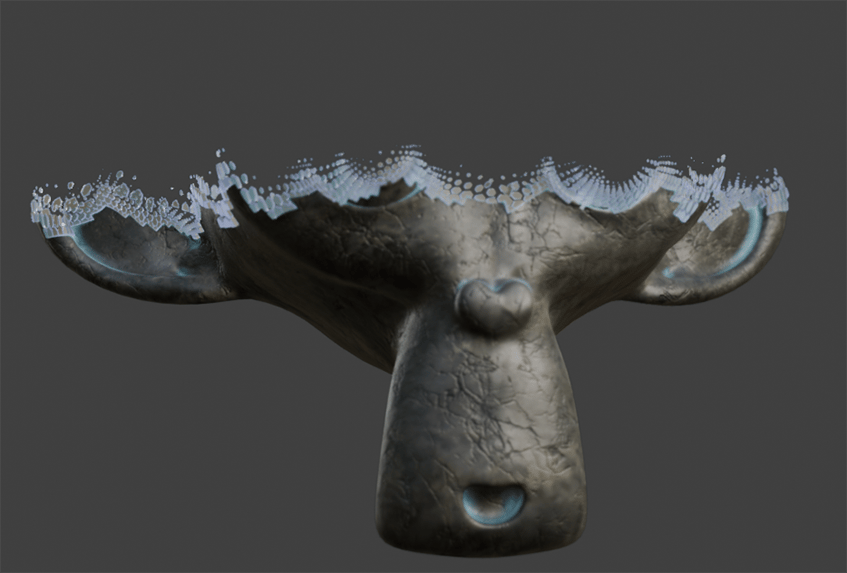
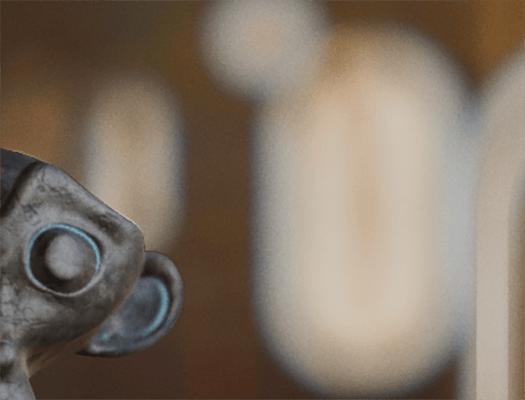
Wireframe
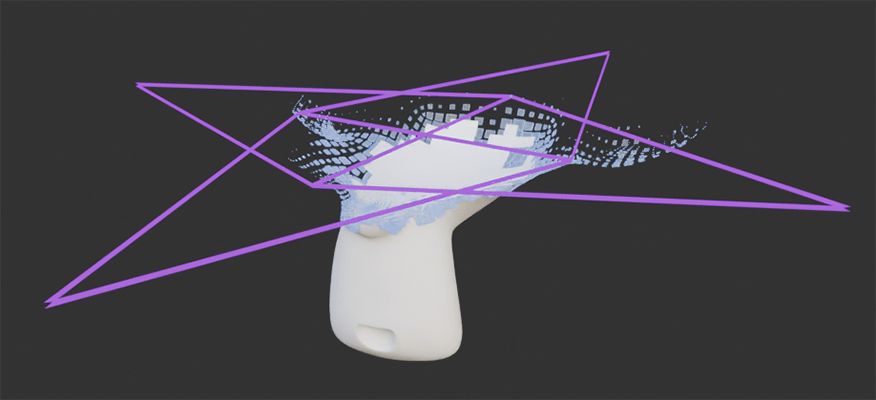
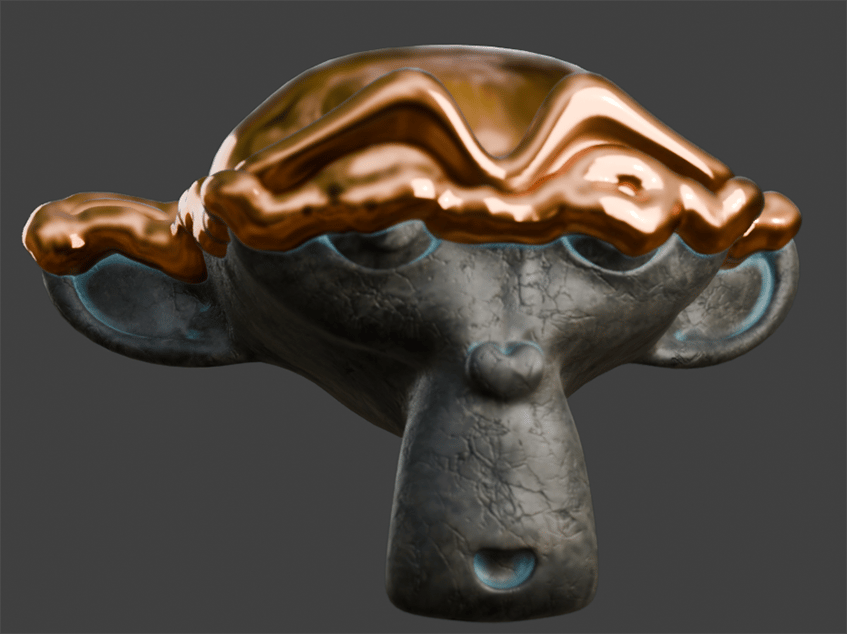
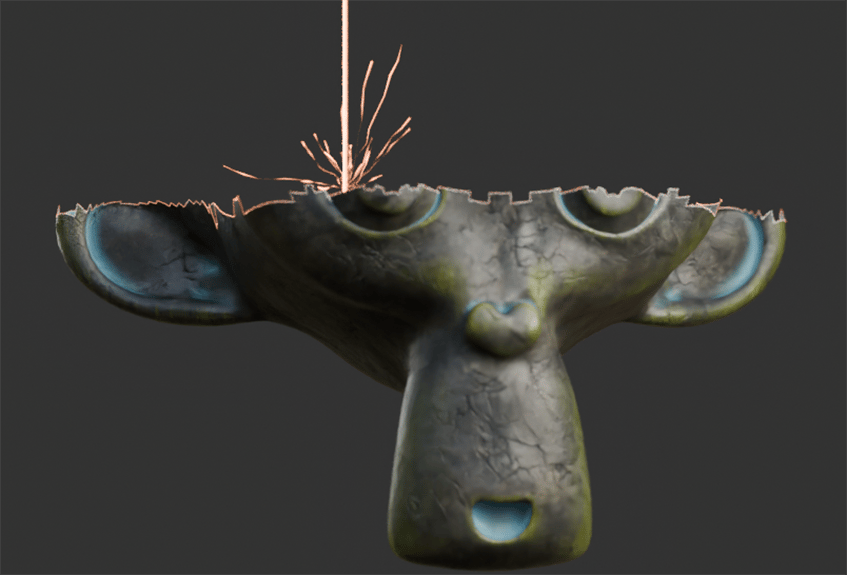
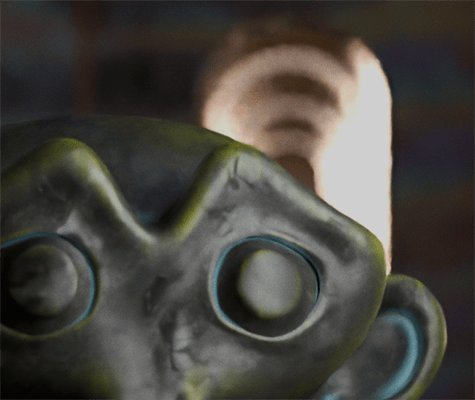
Gloop
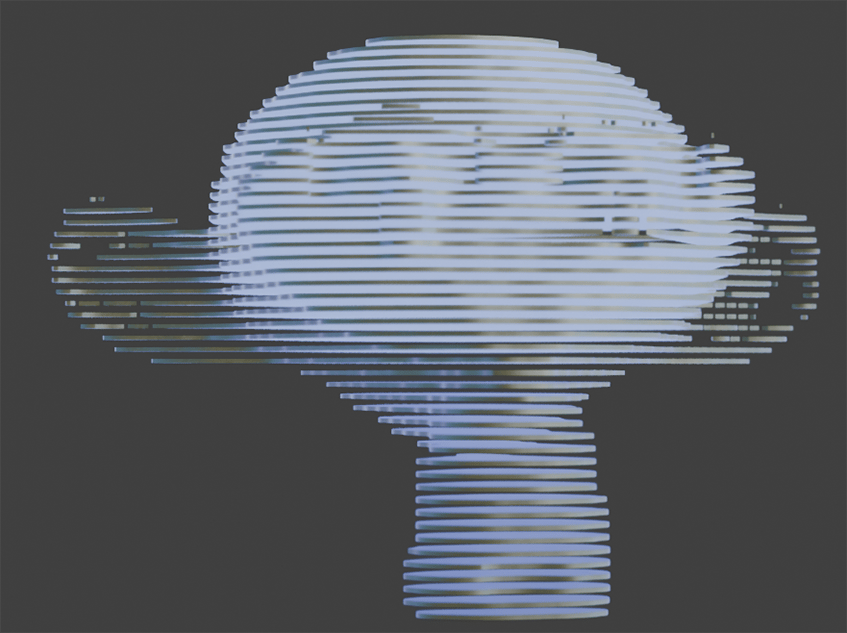
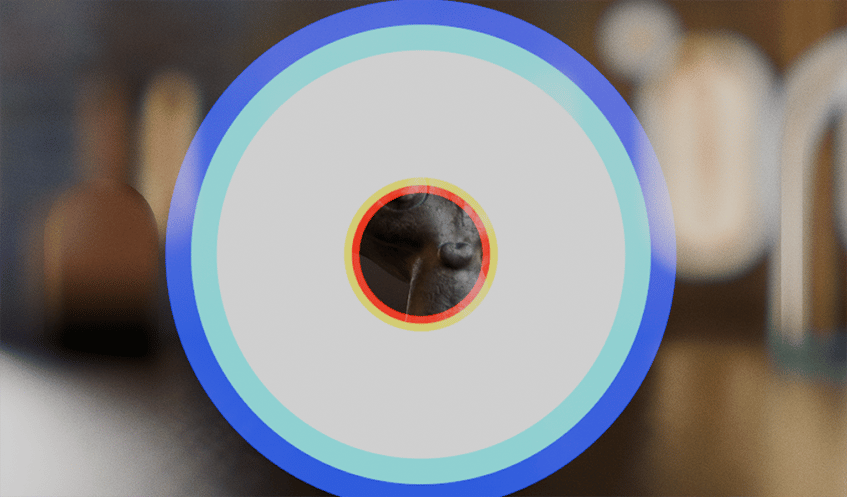
Hologram
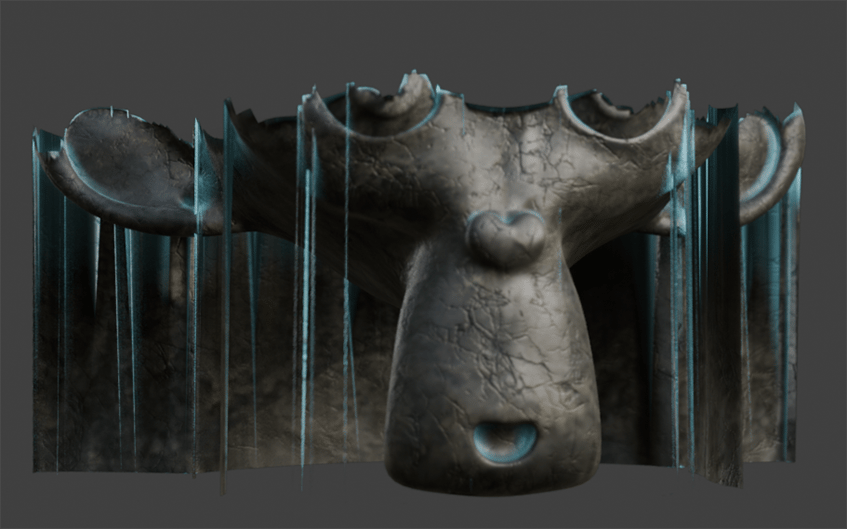
Warp
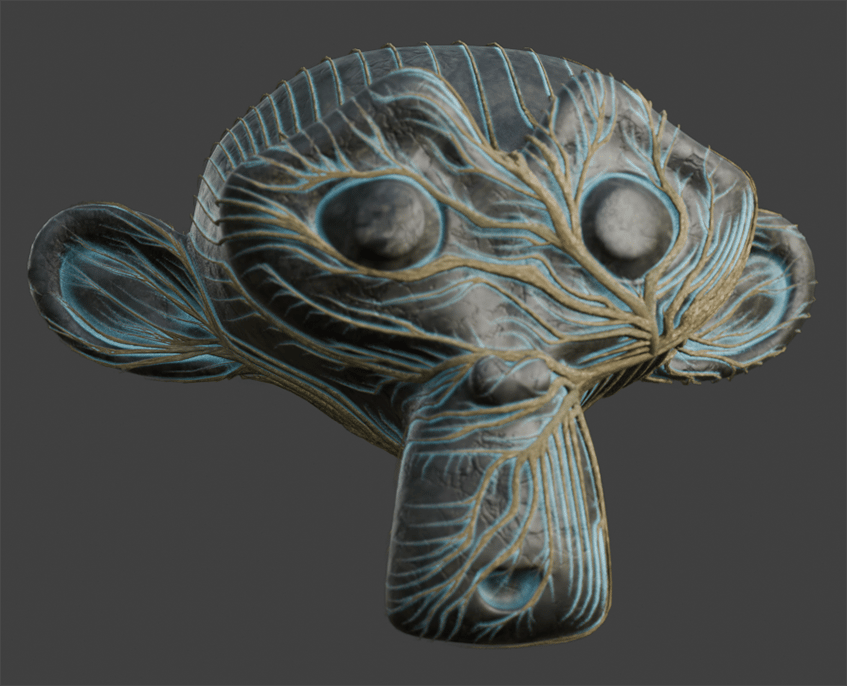
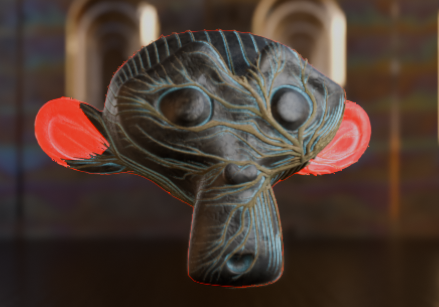
Vines
Laser Build
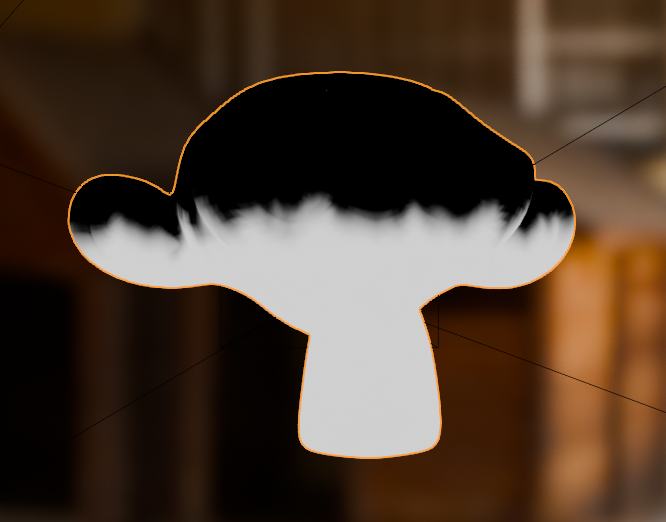
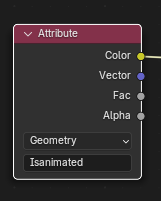
The Attribute Only style will have no immediately visibly effects in the Viewport. Instead, it allows you to specify an attribute name. You can then use an Attribute node with the name inside the shader editor. The created mask attribute will be influenced by the controller object and boundary settings.

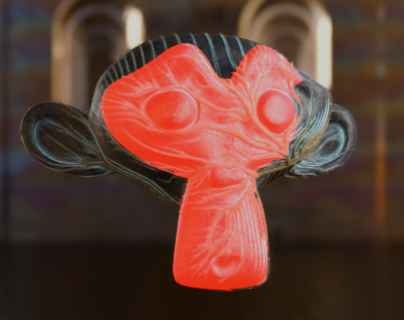
8. Compositing Menu
The final look of renders can be adjusted with Compositing. The addon can quickly append a comprehensive node group enabling slight colour changes or drastic stylistic effects.
Before the compositing nodes are added a warning and the button Add Composite Nodes will show.
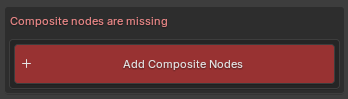
After pressing the button, nodes will be added to the compositor and the full menu will be revealed.
Most settings are quite self-explanatory by their names alone. Or their effects are best shown by experimenting rather than written explanation. Only the vital or complicated settings will be explained here.
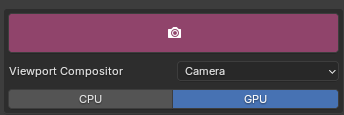
The large camera button will turn compositing on or off.
The Viewport Compositor will toggle when the results of compositing are seen. Disabled will result in compositing only showing in renders.
Camera will show the results in the viewport when looking through a camera.
Always will always show the results in the viewport and it is the most performance intensive mode.
CPU and GPU will let you specify which device is used for compositing.
Toggling the Basic Adjustments switch will show a menu where you can perform basic colour adjustments, add grain or add mist/fog.
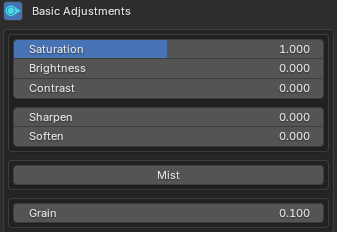
Import Note:
Due to Blender limitations, Mist effects are only able to be previewed when using Eevee. Effects will show in both Cycles and Eevee renders. So, for final Cycles renders, switch to Eevee to preview and adjust settings, then switch back to Cycles.
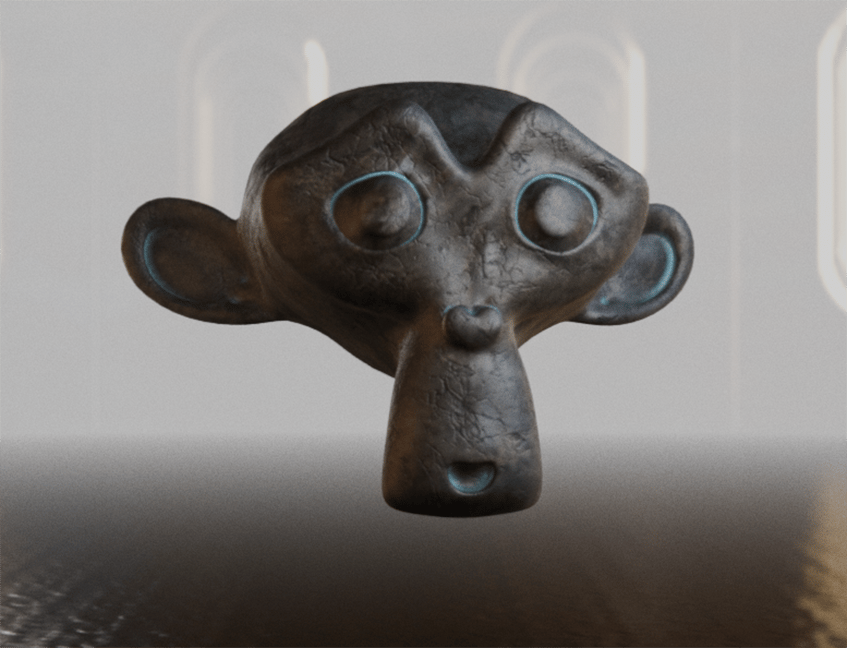
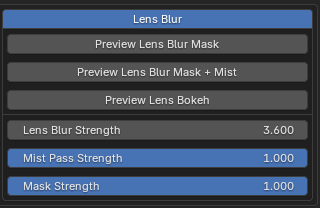
Toggling the Lens Effects switch will show a menu where you can perform add lens distortion, lens blur, lens glare, lens dirt and vignette effects.
The lens blur strength is controlled with an edge or distance (mist) mask. As stated before, Mist effects are only preview-able while using Eevee. The masks can be viewed with the Preview Lens Blur Mask (Edge Mask) or Preview Lens Blur Mask + Mist (Edges and Distance).
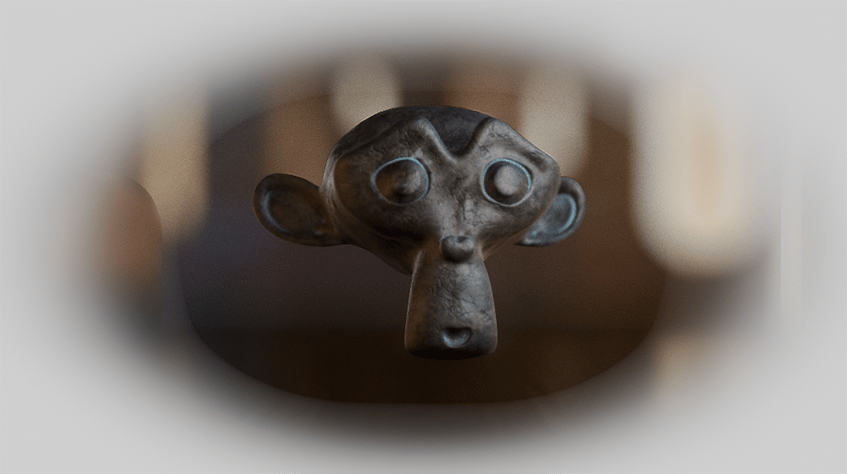
The mask can be adjusted with the width, height, location and blur controls.
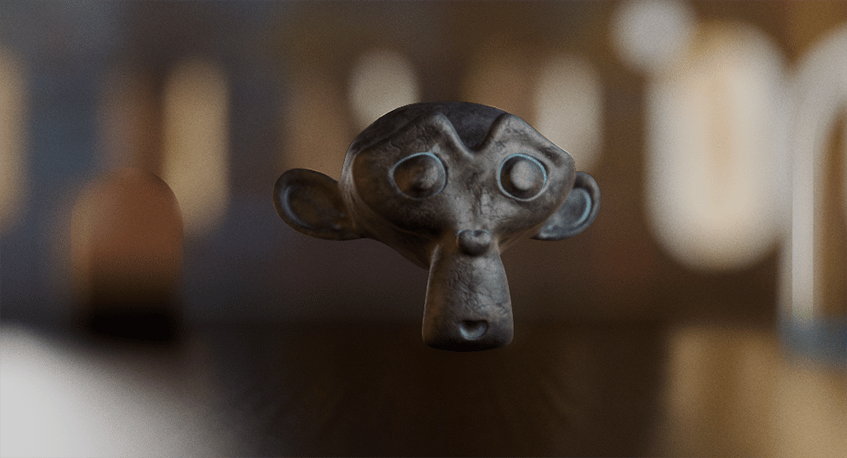
The lens blur system has an integrated Lens Bokeh system (allowing for more realistic blurring) that can be visualized by toggling Preview Lens Bokeh.
The results of which will be apparent in any bright, out-of-focus areas.
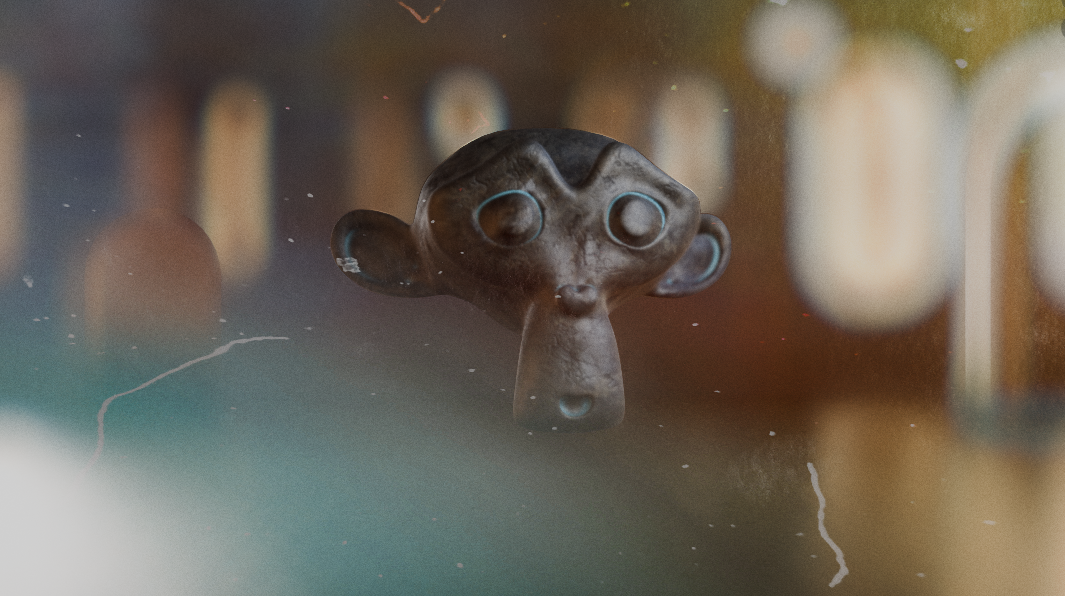
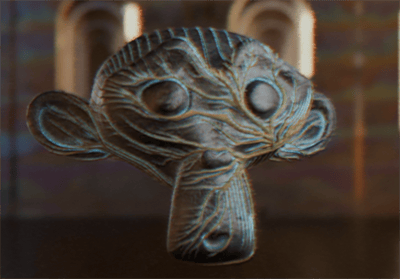
Toggling the Stylized Filters switch will show a menu where you can add very destructive, artistic effects.
Depth Mix will let you mix a color or image 'slice' by depth with the final render.
Since this effect relies on a depth pass, the result is preview-able only in Eevee.
VHS will grade the image in a fashion similar to old VHS video tapes
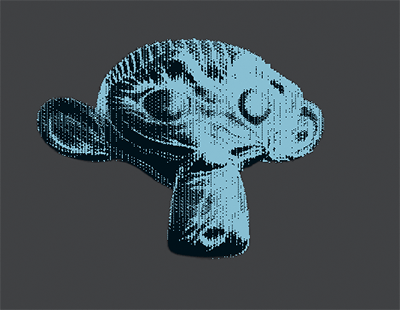
Bayer will create a retro, early computer graphics effect.
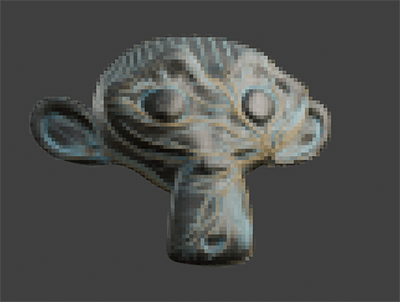
Pixelate will pixelate the image.
Kuwahara will create a painterly, blurred effect.